How to add a progress bar to Confluence pages
Share on socials
How to add a progress bar to Confluence pages
Jump to Section
Jump to section
What is a progress bar?
How to add a progress bar in Confluence
Why use a progress bar in Confluence?
Effortlessly track project and user progress. Here’s how to get started with a Confluence progress bar.
Want to offer a way for Confluence users to see how far they've come during employee or customer onboarding, and what they can expect next? Sounds like a Confluence progress bar is what you need.
Before you get to creating your progress bar, you'll first need to make some engaging pages. Check out our guide to create the best Confluence pages.
Before you get to creating your progress bar, you'll first need to make some engaging pages. Check out our guide to create the best Confluence pages.
What is a progress bar?
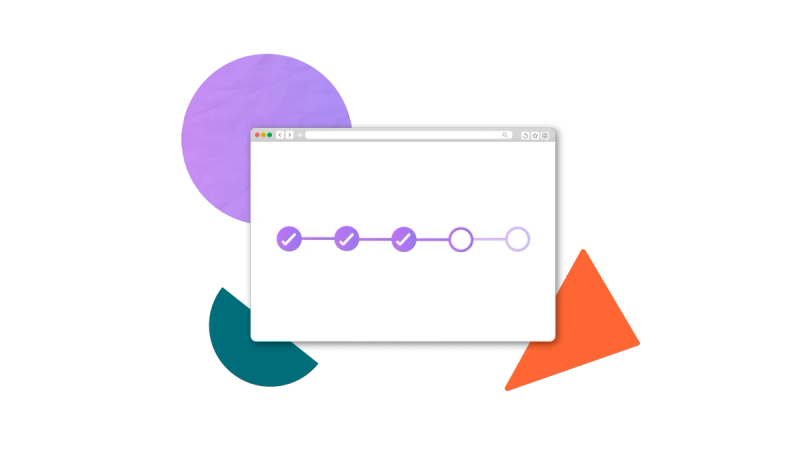
A progress bar is a visual representation of a user’s progress through a set of steps. A progress bar gives users the context to track completion and ensure nothing gets missed. In Confluence, each step on the progress bar relates to a different page.

How to add a progress bar in Confluence Cloud
Unfortunately, Confluence doesn’t come with a built-in progress bar macro, so you’ll need a third-party app like Mosaic: Content Formatting Macros & Templates.
Try out the Progress Bar macro as part of Mosaic:
1. Create a Confluence page for every step that you want to include in your progress bar. Here’s an example shown on a Confluence page tree:
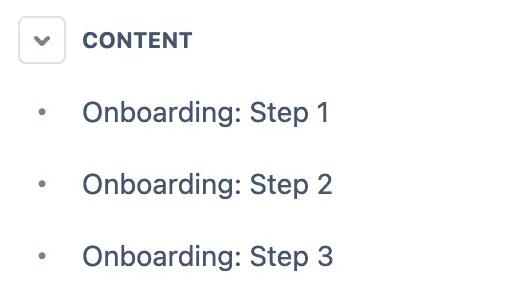
2. Navigate to the page that will be the first step of your progress bar, then type 'e' to enter edit mode.
3. Click where you’d like the progress to be. Then start typing /progress bar and select the Progress Bar macro.

4. In the editor window:
- Check the box to set it as the current step
- Give your step a title
- Link the progress bar to the current page
- Set the step number as 1
Press Save.
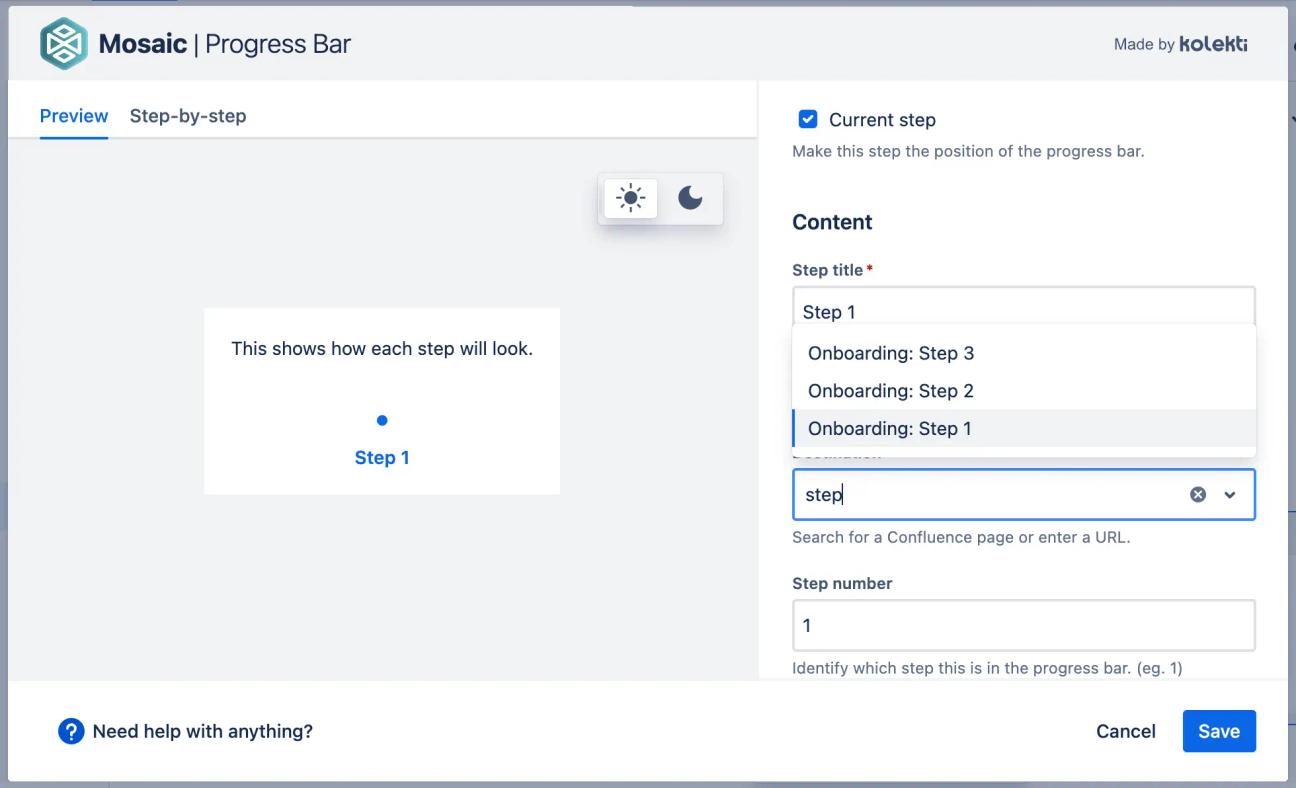
5. Copy and paste the progress bar macro so you have one for every step (page) in your progress bar.
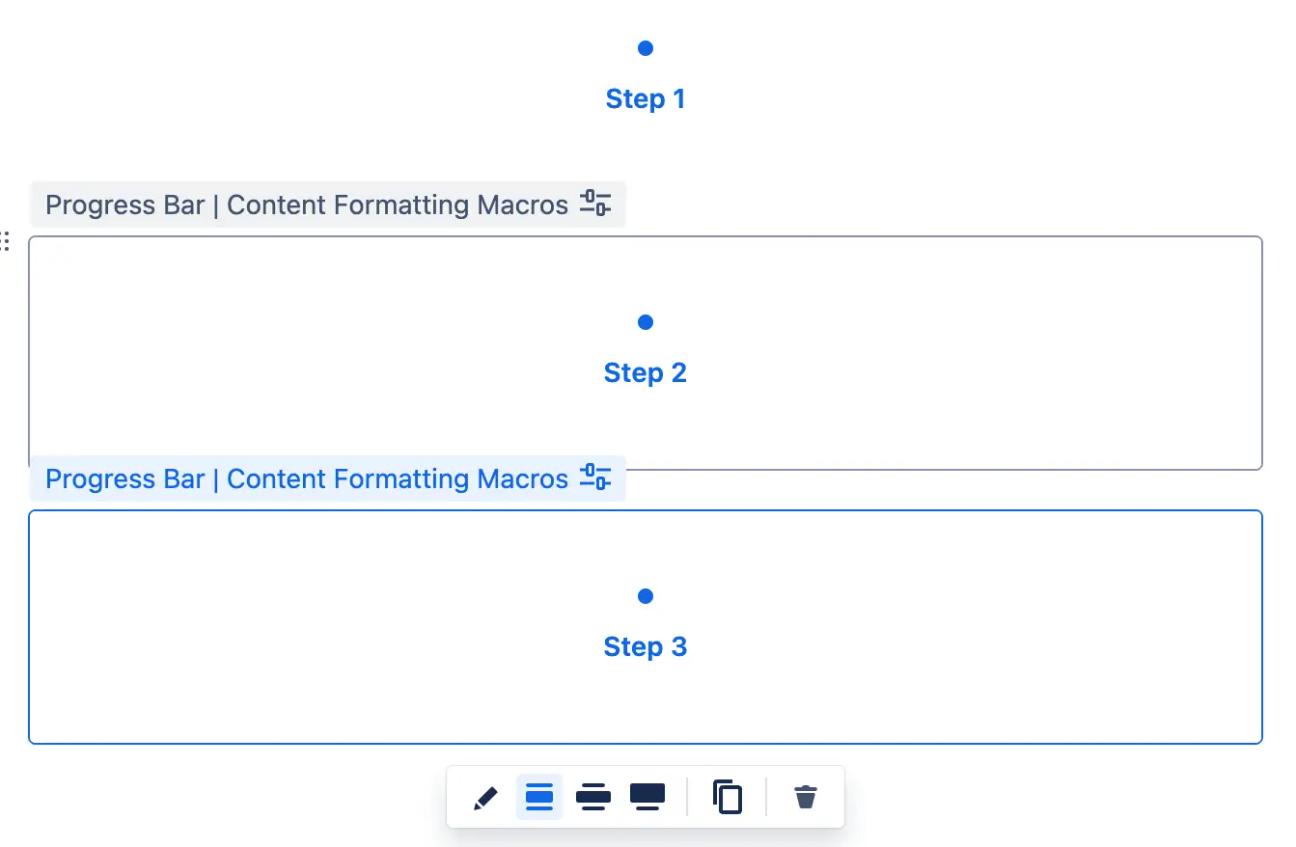
6. Click to edit the following progress bar macros, then change the following:
- Change the step number
- Uncheck the macro as the current step
- Set the destination for that step as the correct page
Then press Save.
The image below has been edited to show step 2 of the progress bar:
The image below has been edited to show step 2 of the progress bar:
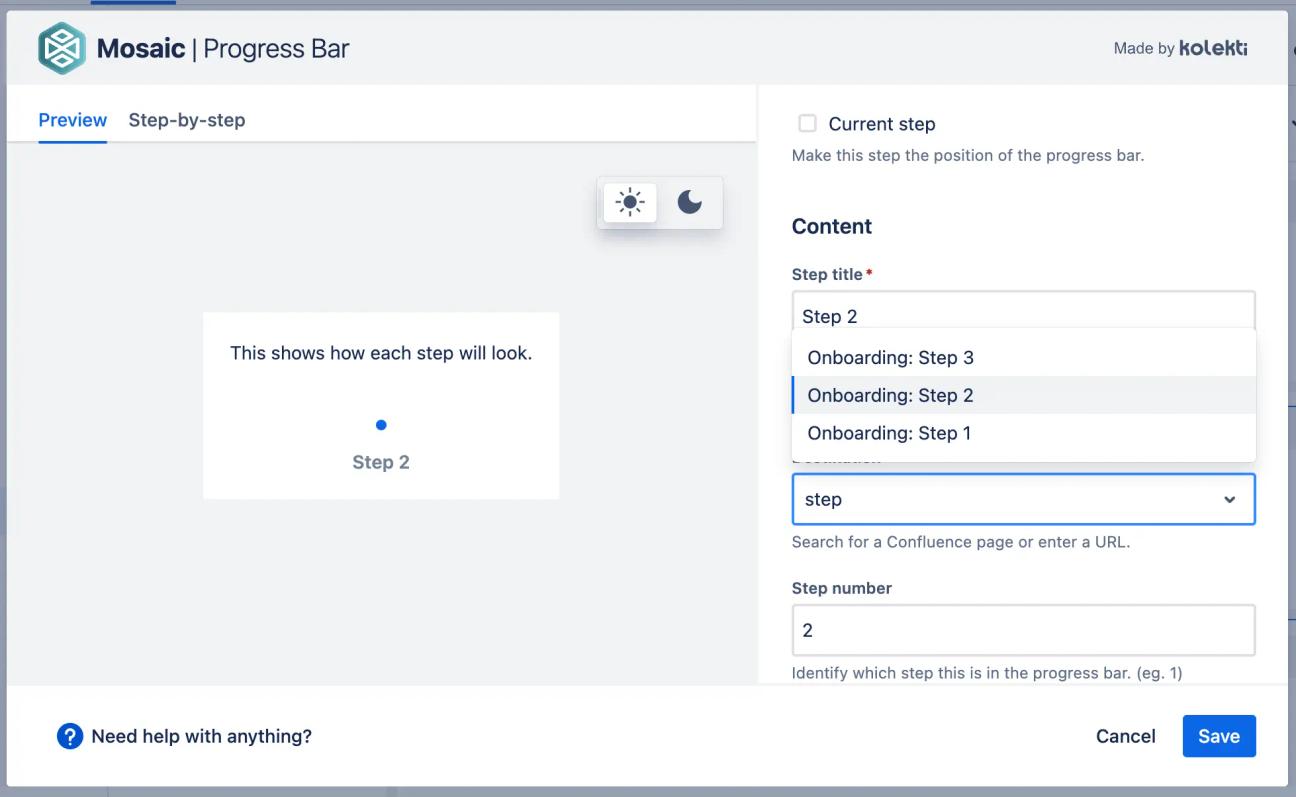
7. Copy and paste all of the progress bar macros from this page to every page (step) referenced in the progress bar.
8. Edit the previous page's macro and uncheck 'Current step', then press Save. Then edit the Progress bar macro linked to the current page and check 'Current step'.
(For example, if your current page is Step 2, uncheck Step 1 and set Step 2 as the current step.)
(For example, if your current page is Step 2, uncheck Step 1 and set Step 2 as the current step.)

Note: Due to limitations in Confluence, you can only add one set of progress bar macros to a page.
Why use a progress bar in Confluence?
There are many reasons to include progress bars in your Confluence pages, but here are just a few:
- Onboarding: Help users visualise their progress through employee onboarding documents and ensure they don’t miss anything important.
- Training: A progress bar makes it easy for learners to track their completion of different training modules, helping to motivate them over the finish line.
- User guides: Beneficial for customer-facing knowledge bases, a progress bar walks users through different steps (e.g. setup instructions) and keeps track of their progress.
Ready to create clearer user journeys?
Showing and tracking progress effortlessly is just one thing you can achieve with Mosaic. Try progress bars and more with a 30-day free trial:
Related Content
Read moreWritten by

Senior Product Marketing Manager
Zoriana has over 12 years of experience in marketing, with 6 of them in product marketing management. As a Senior Product Marketing Manager, Zoriana aims to ensure Kolekti's apps excel by understanding customer needs, solving their problems, and making Kolekti truly the best solution.
Related Content
Read more


